Products
In this chapter we explain how products are managed. A product in Commerce contains all the properties of an offered product or service. Every item you want to start selling through the webshop must be entered and defined here.
# Overviewpage products
After logging in to Craft CMS, the Commerce>Products menu will take you to the overview of all products entered.
# Filter
(image block 1)
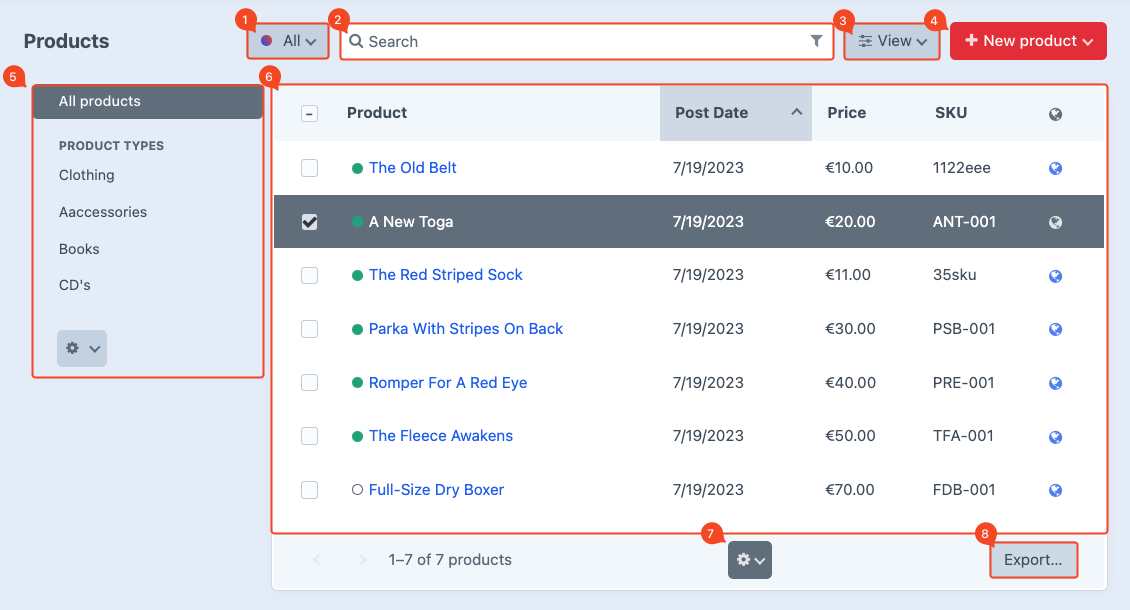
The All button allows you to filter products by "expiration date," that is, whether or not they can be ordered in the webshop by a customer based on a set date.
| Filter | Description |
|---|---|
| All | Displays all products regardless of any set expiration date |
| Live | Displays only active products, or products that are orderable |
| Pending | Displays products that become automatically orderable in the web store on a scheduled date |
| Expired | Displays products whose expiration dates have passed and are no longer available to order from the web store |
| Disabled | Displays products that are manually disabled |
| Trashed | Displays products that are in the trash but not yet permanently deleted |
The title of this button changes to the filter name after selection.
# Search & Filtering
(image block 2)
# Search
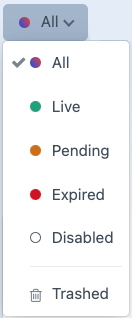
Use the search bar at the top of the page to find specific products by keyword. For example, you can search by product name or item number.
The button on the left side of the search bar allows you to activate an additional filtering on the "expiration date".
Ask the developer to add additional search capabilities if you are missing any.
# Filtering
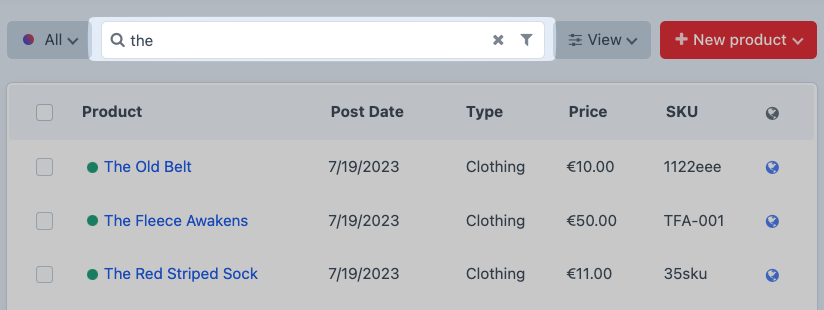
While searching, it is also possible to set additional filters. This is useful when, for example, you want to search within a specific date range. This option can be found under the funnel symbol, displayed on the right side in the search bar.

Click the Add a Filter button, a list of possible filter options will now be displayed. Select a filter and hit Apply. Via Remove, the applied filtering can be removed again.
It is possible to set multiple filters simultaneously.
When the funnel symbol is colored dark gray you can see that a filter is active. 
# Sorting & Columnview
(image block 3)
# Sorting
It is possible to sort the view of data in columns by clicking on the column title or via the View button along the right side of the search bar. You will then come to two buttons to sort from small to large. Also, with Sort by you can sort specifically by item number, properties, etc.

When a sort button is turned dark gray it means that this sorting type is active. 
Not all columns can be sorted by clicking on the column title.
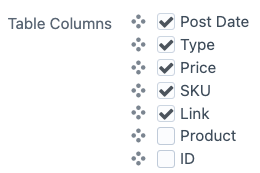
# Columnview
The View button also takes you to the column view settings. Check which column you want to be shown on the overview page. The order of columns can be changed by grabbing the item by the four dots and dragging it to a different place.
# Adding products
(image block 4)
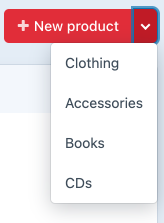
When you click the New product button, a drop-down list of available product types appears. Select the product type for which you want to create a new product. Go to chapter Products detailpage for more information.
# Filter menu
(image block 5)
If set up, products can be classified into different product types. For example, consider a bookstore that sells different types of products such as books and CD’s.
It is recommended to be very reluctant to create many different product types in Commerce. This greatly increases the complexity of the setup.
# All products
Click to display all entered products regardless of whether they belong to a particular product type.
# Product types
Click on the product type for a display of all related products of the same type.
Product types can be created via the System Settings menu under Commerce.
Once created, the product type in which the product falls cannot be changed later.
# Product overview
(image block 6)
In the product overview you can see all entered products. Click on the product title to view the specific settings for this product. It is also possible to perform bulk actions for multiple orders simultaneously.
See chapter Products detailpage for more information.
# Cogwheel menu
(image block 7)
The moment an item is checked, a cogwheel appears at the bottom of the page in the center that leads to a menu. This contains various options specific to the selected item.
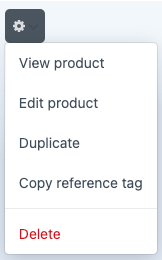
What choices you have in the menu depends on whether one or more items are selected at the same time. Any installed plugins may also be of an affect.
# Export
(image block 8)
The data from a view can be exported via the Export button.
Enter a line limit of, for example 10, if you have a large amount of orders and do not know exactly what the end result of the export will be.
# Products detailpage
The Commerce > Products menu will take you to the detail page when you use the button New product or by clicking on the product title of an existing item.
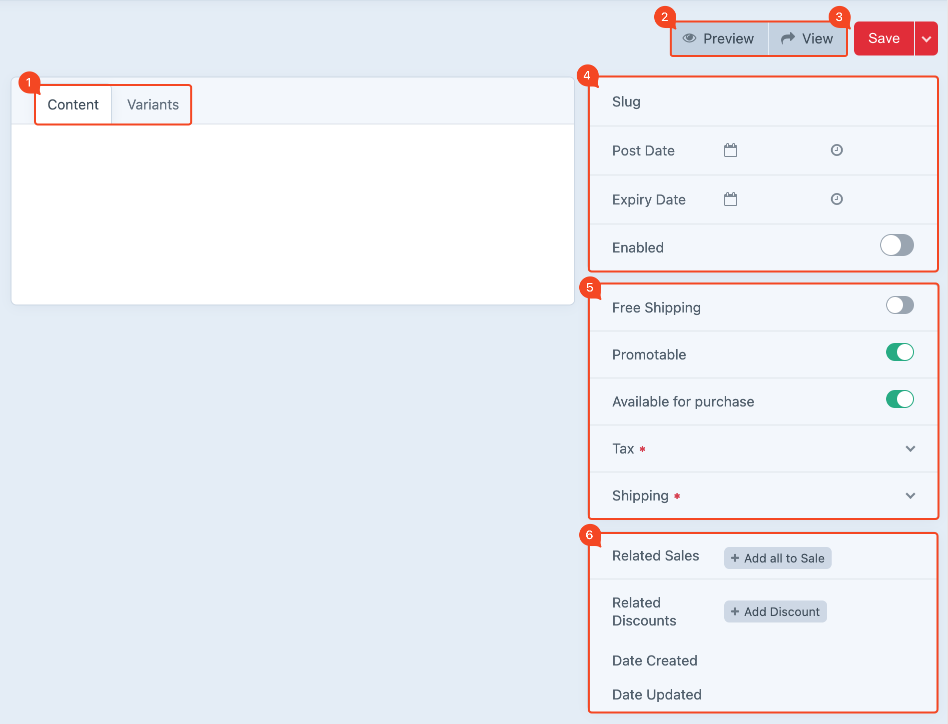
# Content & variants
(image block 1)
# Content tab
Product title.

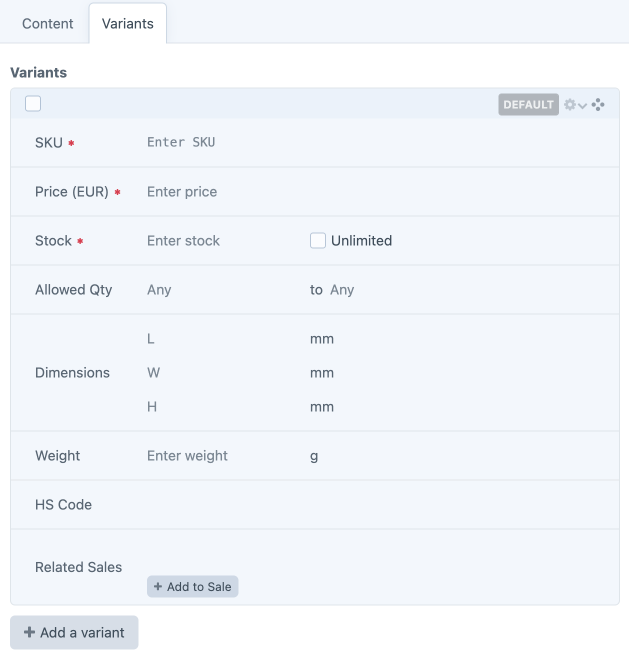
# Variants tab
Depending on the product type setting, product variants may or may not be created.
When "Products of this type have multiple variants" is enabled for a product type, multiple variants of a main product can be created.
Think of variants like size, content, finishing etc. It is not necessary to create a completely new product each time for this. Enter the block and use the Add a variant button to get a new entry block.
# Preview
(image block 2)
Opens a preview of the product as it appears in the webshop. It is possible to make adjustments during the preview. Useful to see immediately the effect of your change. Choose Close Preview to return to the previous screen or Save if you’ve made any adjustments you want to keep.
# Save
(image block 3)
Click Save, you will return to the previous screen. With the arrow next to the button it is possible to save and continue editing.
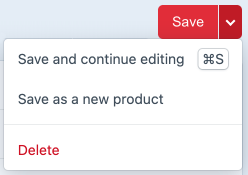
Once saved, you are given another option at the bottom right of the page to immediately link a product to a current promotion or discount. This can be done with the Add All to Sale and Add Discount buttons.


# Webshop display options
(image block 4)
# Slug
For a detailed explanation about Slug, go to the WHITE Craft CMS manual (opens new window). After filling in the title, this field is automatically filled but can also be adjusted as desired.
# Post Date
Product creation date.
# Expiry Date
Enter a future date when a product may no longer be sold. After reaching this date the product will automatically disappear from the webshop.
# Enabled
Flip the switch when you want to turn a product on or off directly. The item will not be visible to visitors after that.
# Details handling
(image block 5)
# Free Shipping
When switched on, no shipping costs are charged on this product. Any installed plugins that calculate shipping costs take this setting into account.
# Promotable
When switched on, the product may be included in any offers or discounts. Go to the Promotions (opens new window) page for more information.
# Available for purchase
When switched off, the product can still be seen in the webshop but can no longer be ordered. This is useful, for example when a product is temporarily out of circulation.
# Tax
While setting up Commerce, the tax rates applicable to the products are configured. Depending on that, the tax category can be chosen from the dropdown menu. Like VAT high, low etc.
# Shipping
A product can be divided into shipping categories. For example parcel mail, letterbox mail etc.
# Promotions & discounts
(image block 6)
In this block you can link a product to a current promotion or discount. Go to the Promotions (opens new window) page for more information.