Submissions
In this section we describe the management of all received submissions with their status and its content. The menu Forms>Submissions will take you there.
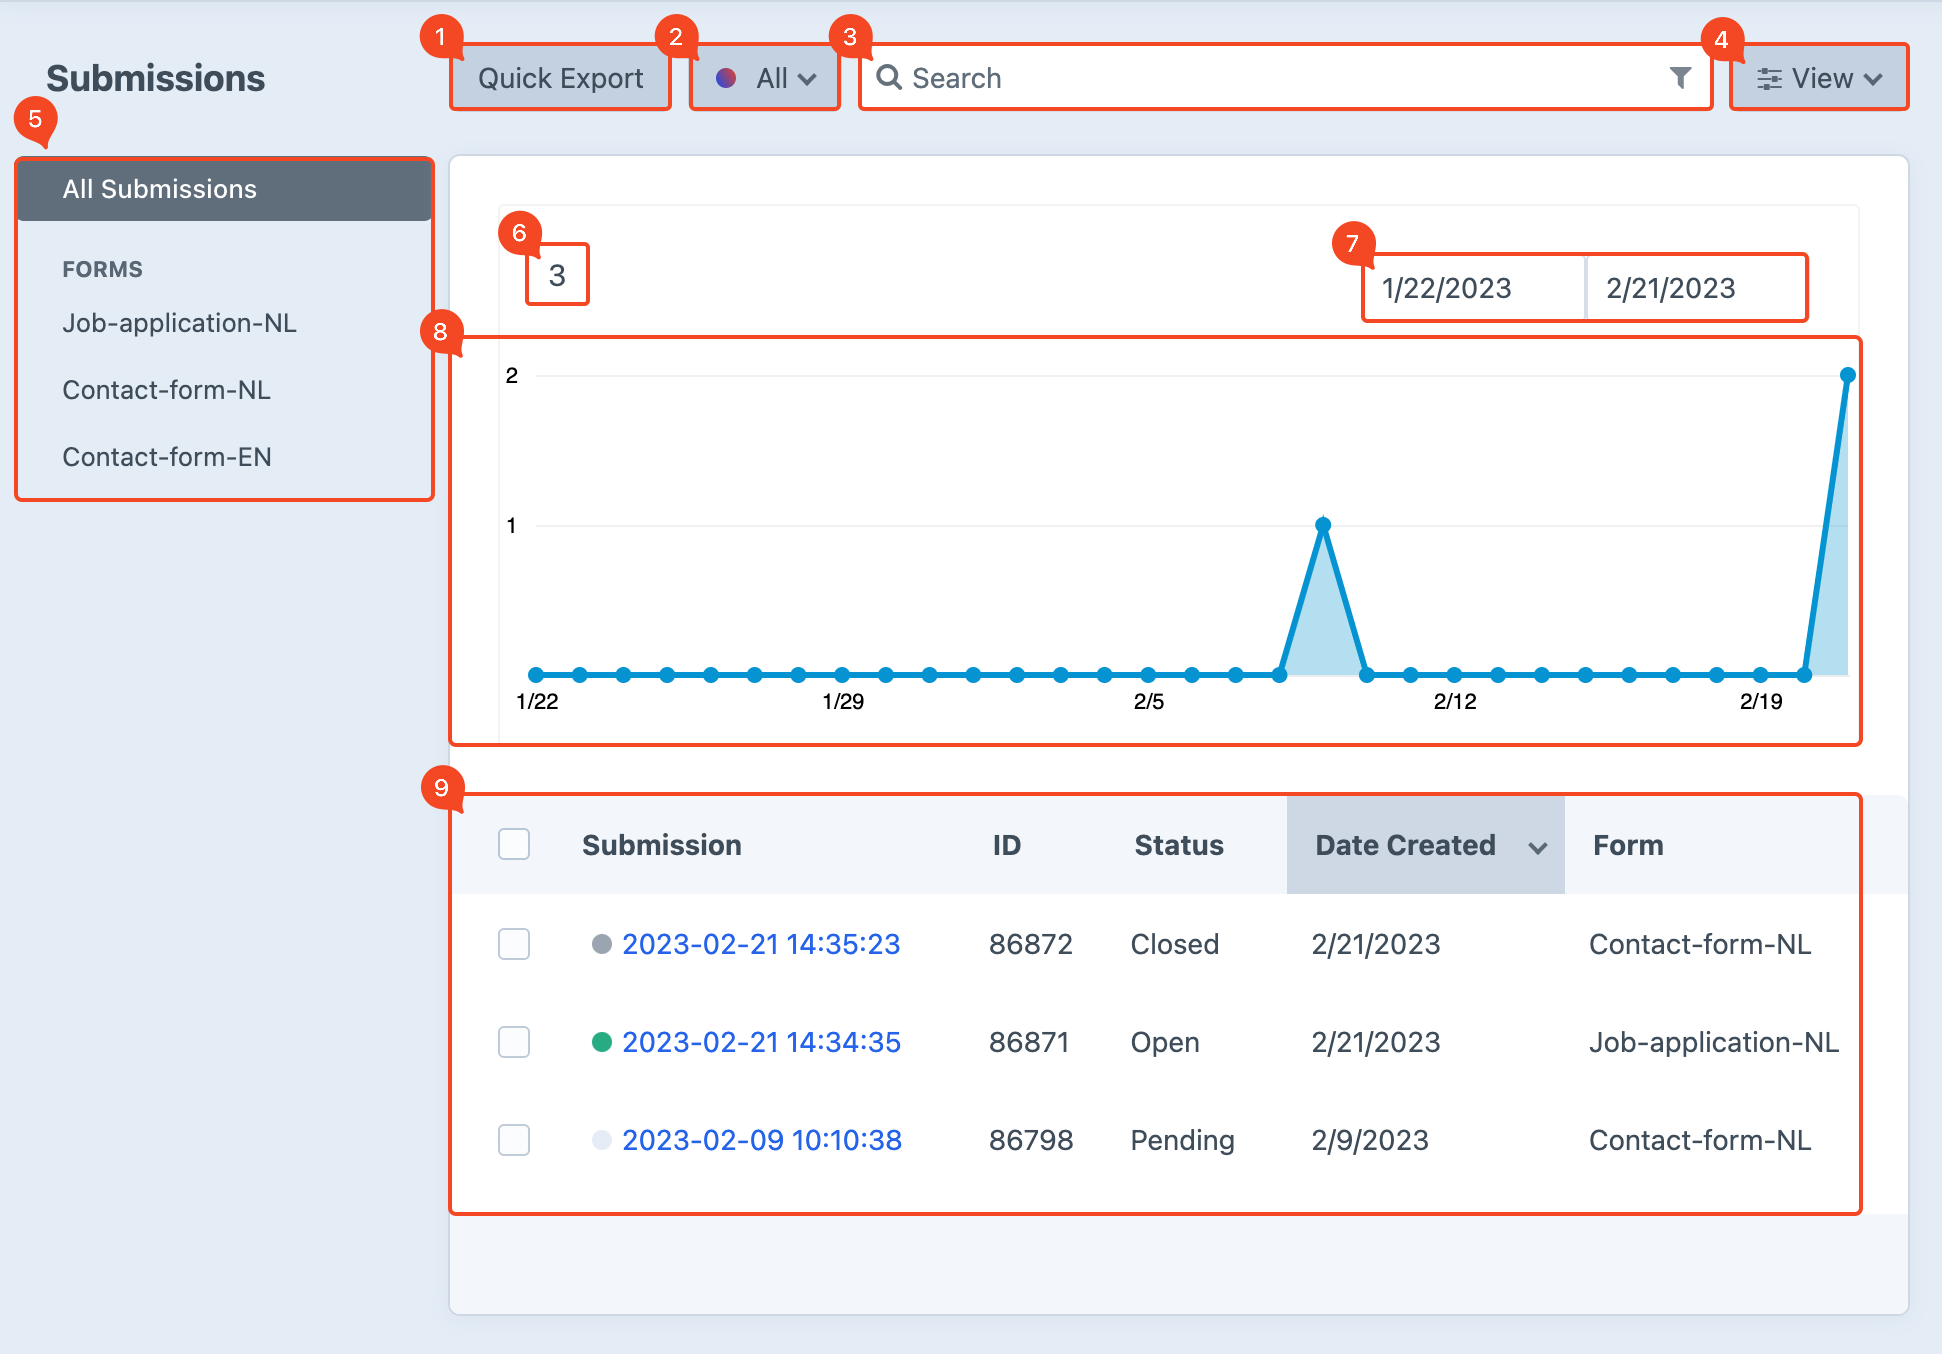
# Overviewpage submissions
# Quick Export
(image block 1)
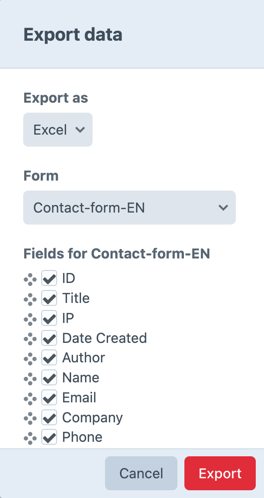
With the help of the Quick Export button you can export data. Choose the file type in which to export the data, which form and check the field names that should be included. These will later become the columns, press Export.
# Filter with the help of a status
(image block 2)
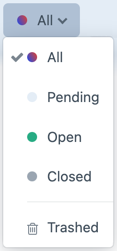
Use the filter to limit the display of submissions to one particular status. For example, you can have only closed or deleted submissions displayed.
# Search & Filter
(image block 3)
# Search
Use the search bar at the top of the page to search for certain keywords. This allows you to find submissions (if they exist) that contain those words. Choose statusfilter All to search through all available submissions.
# Filter
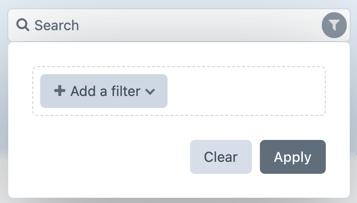
While searching, it is also possible to set additional filters. This is useful when, for example, you want to search specifically within a date range or certain title. This option can be found under the funnel symbol, displayed on the right side in the search bar.
Click on the Add a filter button, a list of possible filter options will now be displayed. Select a filter and click Apply.
# Sort & column view
# Sort
It is possible to sort the data by clicking on the column title or with the View button on the right side of the search bar. Then you will come to two sortbuttons (to small and to large). Sort by allows you to sort specifically by status, form, etc.

When the sort button is colored dark gray it means that this type of sorting is active.

Not all columns can be sorted by clicking on the column title.
# Column view
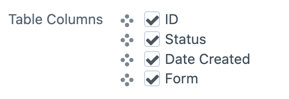
(image block 4)
The View button also takes you to the column display settings. Check which column you want to be shown on the overview page. The order of columns can be changed by grabbing the item by the four dots and dragging it to another place.
# Forms
(image block 5)
The left menu is divided into All Submissions and Forms. The menu acts as a filter to the overview page. Click All Submissions to display the submissions of forms altogether. Click on the specific form under Forms to display the submissions of that form.
# Counter
(image block 6)
Shows the total number of submissions. The count depends on the form selected (image block 5) and the date selection (image block 7).
# Date filtering
(image block 7)
Enter a date range within which the submission should fall. The outcome of the chart (image block 8) depends on the form selected (image block 5) and this date filtering.
# Chart
(image block 8)
After you choose a form (image block 5) and the date range (image block 7), the chart will be generated automatically. Hover your mouse over the bullets to view the specific numbers at that time.
# Overview submissions
(image block 9)
This block contains a list with submissions, depending an certain filters and settings. Click on the blue date link if you want to view the details of a specific submission. More information on this topic can be found in the chapter detailpage submissions.
# Detailpage submissions
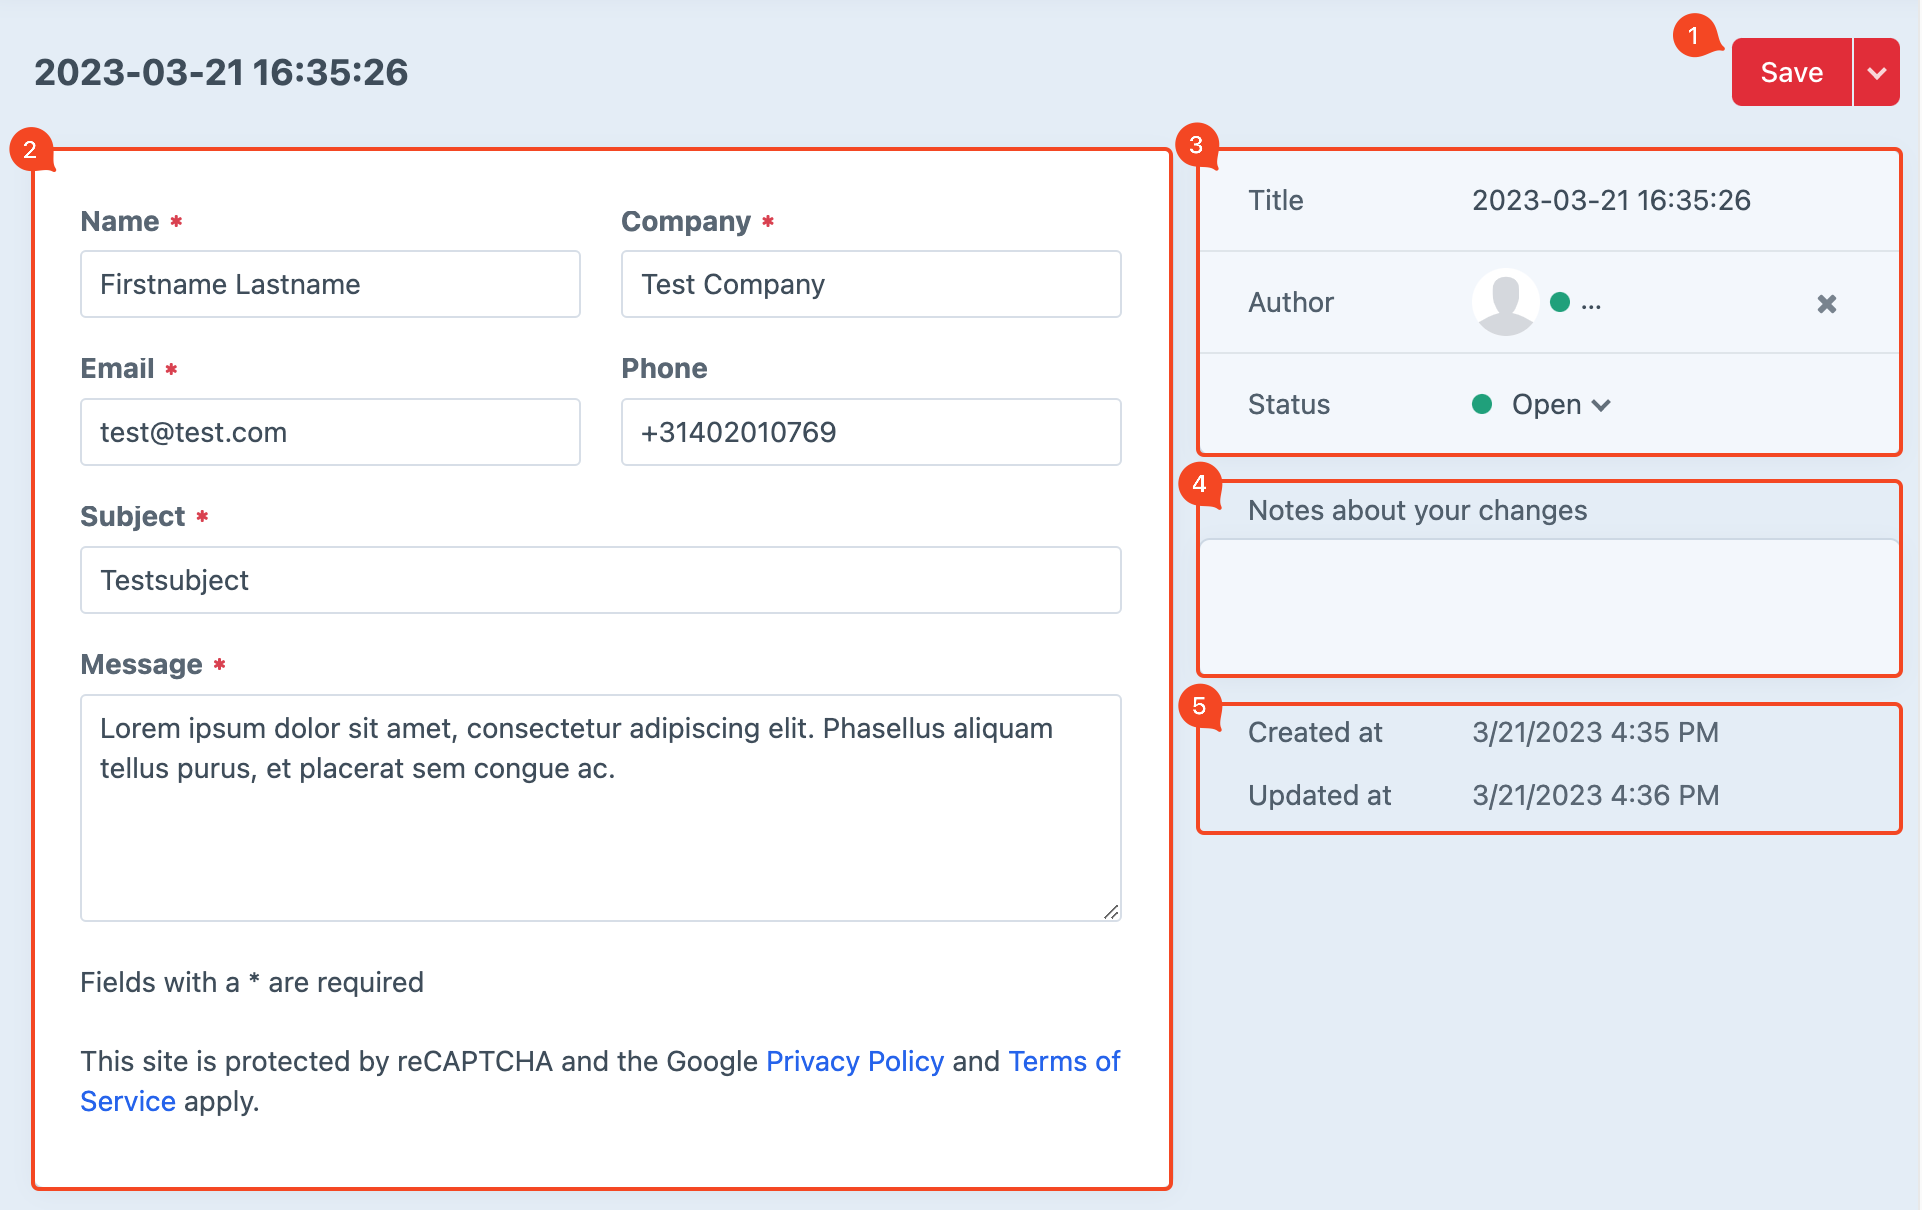
The overview page displays a list of submissions. Click on the blue date link to get to the details page.
# Save
(image block 1)
Except for the creation and update date, all information of a submission can be edited completely. Choose Save to save the changes.
Next to the red button you can find a dropdown menu. Here you can find the option Save and continue editing and its shortcut.
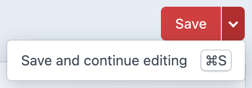
Using Cmd-S on a Mac or Ctrl-S on Windows, you can quickly save while editing without having to use the save button each time.
# Message contents
(image block 2)
This block displays all the fields of the form. Required fields are identified by the asterisk symbol and therefore always filled with data.
# Title, Author & status
(image block 3)
The displayed title usually shows the date and time of the submission, this can also be modified.
If the submitter of the form is also logged into Craft then the name of the user is displayed behind Author.
Behind status you can find the current status of the submission.
The available status options are usually set up by the developer. You can find these in the settings of the Freeform plugin.
# Notes
(image block 4)
In this field you can enter your own comments. After saving, this information will be kept with the submission.
# Created & updated at
(image block 5)
Created at shows the date and time of when the submission was created. Updated at shows the date and time of when the data last was updated.