Fields
We’ve learned in the previous chapter that a form is built out of blocks, which eventualy form the entry fields. These fields are managed centrally here. The advantage of using them this way is that you only have to create them once and can reuse them again and again.
# Overviewpage fields

# New field
(image block 1)
Create a new field with the New Field button.
# Overview fields
(image block 2)
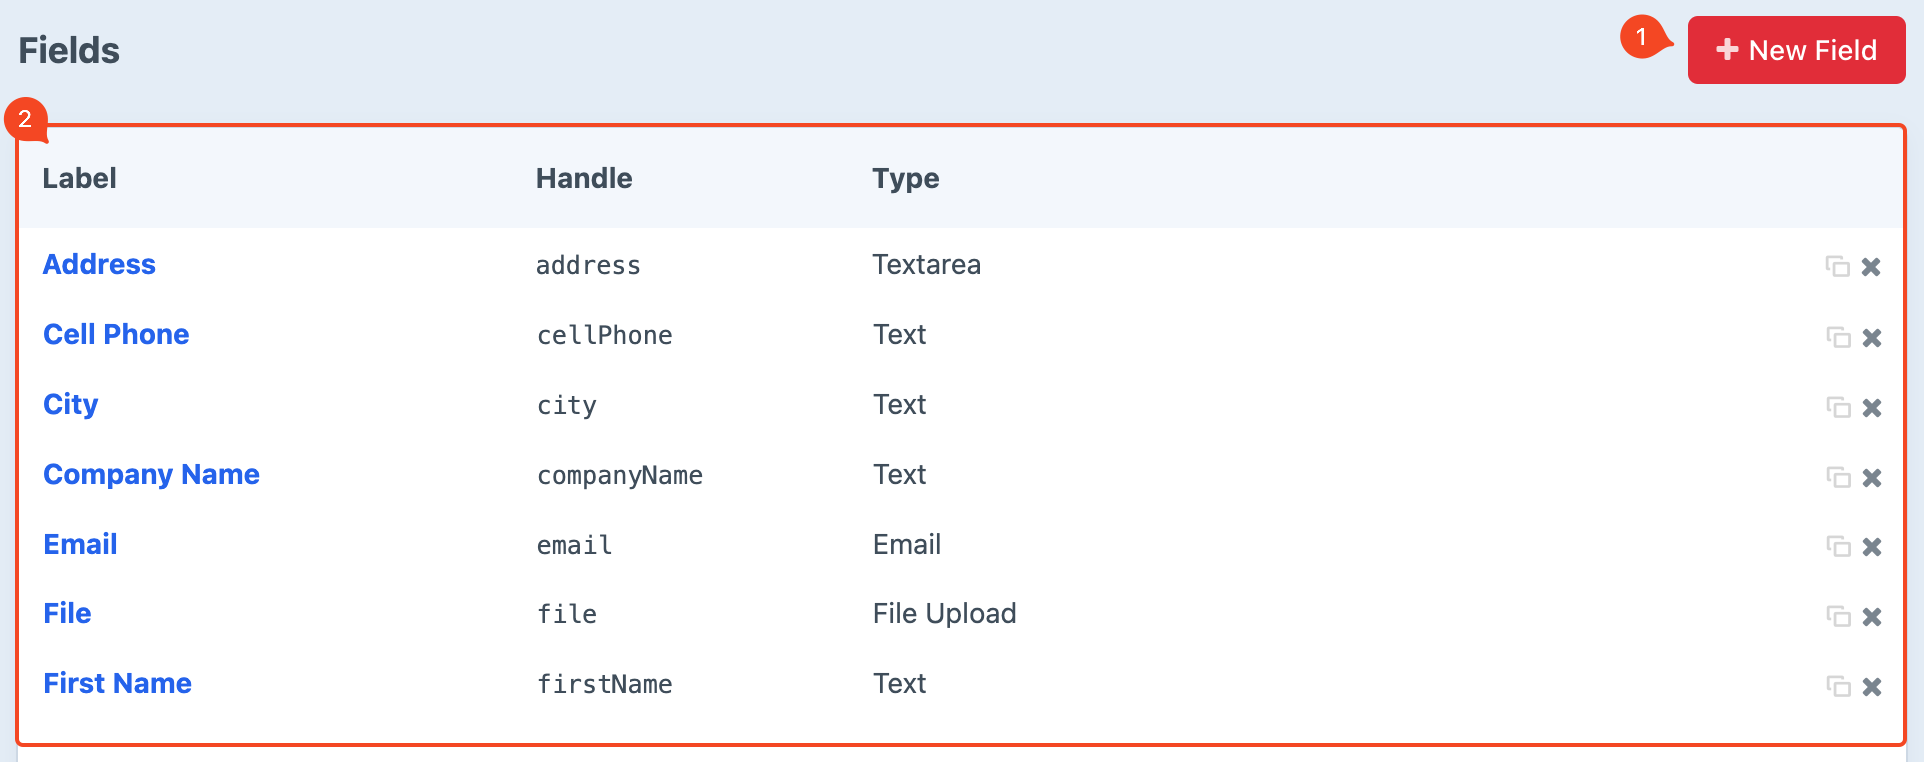
Here you can find an overview with all existing fields and corresponding details like Label, Handle and Type. Behind each row you have the option to copy or delete an existing field.
Click on the blue link of the fieldname to view the specific details. More information about this topic can be found in the following section Detailpage fields
# Detailpage fields
Use the red New Field button in the upper right corner of the page or the blue link of an existing fieldname to get to the detailpage.

# Label
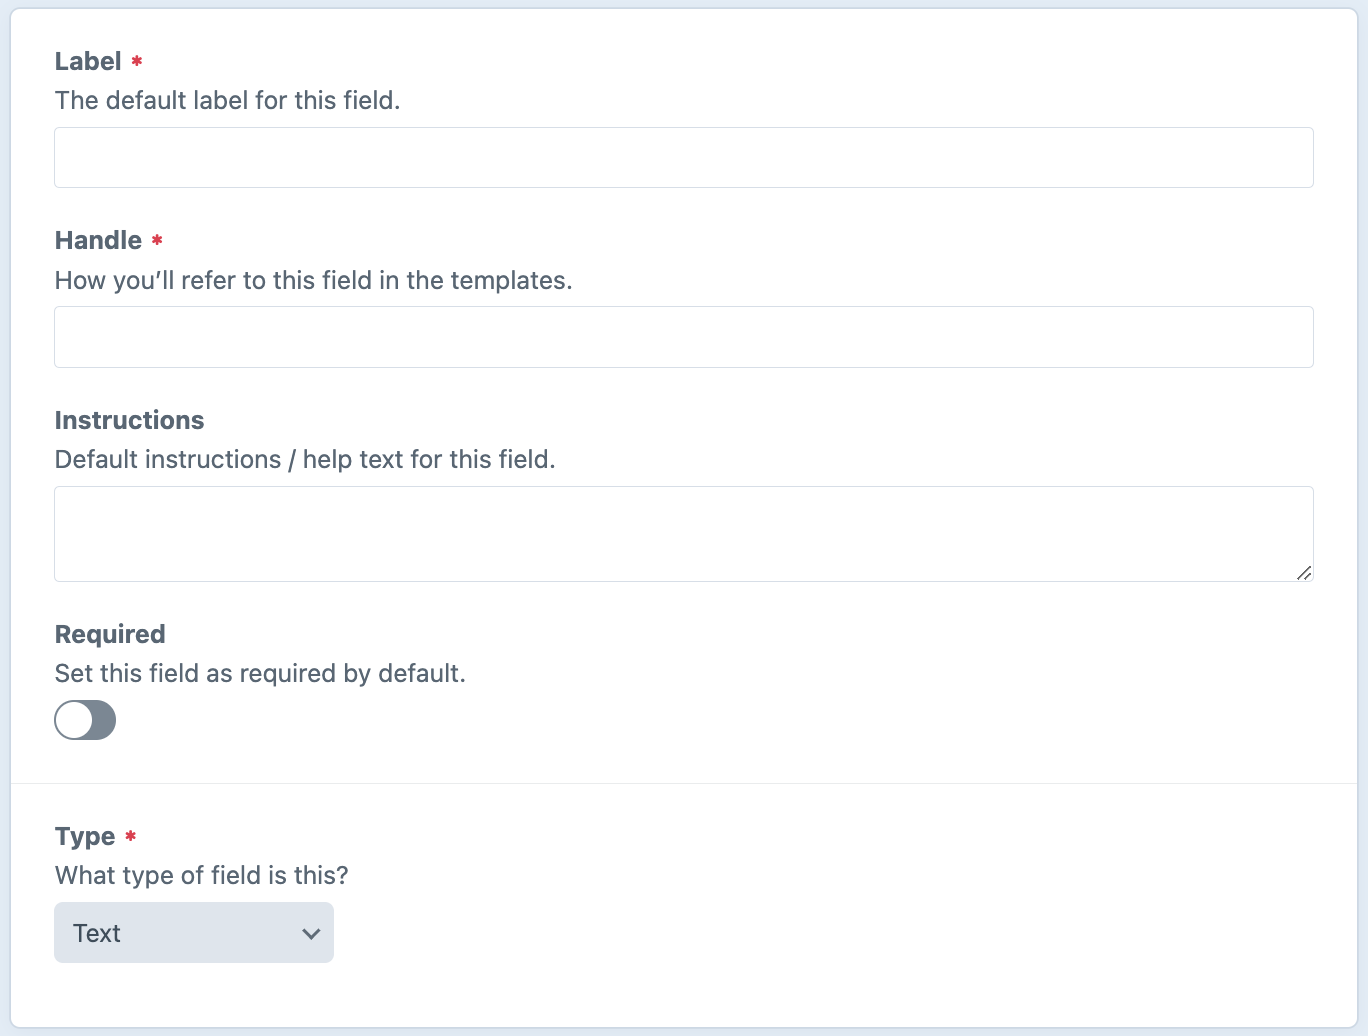
Name the field label.
# Handle
While entering a name, the handle will be filled in automatically. You can change it as you wish without affecting the name.
The handle is usually a derivative of the title. It’s kind of a tag which acts as a handle to which can be refered to.
# Instructions
If desired you can provide an additional explanation of how to fill out this field.
# Required
Indicate if this is a required field. If checked the form cannot be submitted when the field stays empty.
# Type
Choose what type of field you want to create. Each type has its own unique properties. For example, 'Email’ will require the end user to enter a valid address that meets the condition for an email address (such as using the asterisk @) etc.
Depending on the type selected, other options will appear. These are not described separately in this manual.
# Save
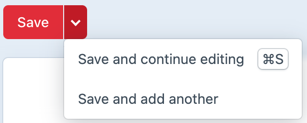
Save the newly created field with the red Save button at the upper rigth corner of the page. Click the arrow next to it for additional choices.
