Export
In this chapter, we describe how you can export the data received from submissions and have the system automatically email it to you.
# Creating an export profile
In order to export data you’ll first need to create a profile. The advantage of creating a profile is that you can easily export a dataset in the future without having to enter certain criteria each time.
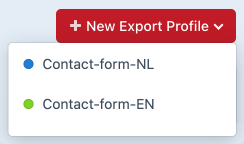
Go to Forms>Export>Profiles and choose New Export Profile at the top right of the screen. Choose the form from the list whose data you want to export, a new page with several choices will now be displayed.
# Name
Name the new profile.
Profile names are displayed within the Control Panel only.
# Statuses
Specify which status a submission must have in order to be exported.
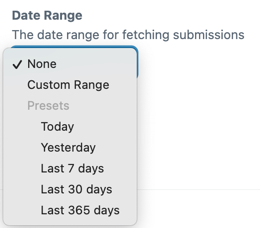
# Date Range
Choose a date range within which the submission date should fall.
# Limit
Specify the maximum number of submissions to be included in the export.
Each submission is one line.
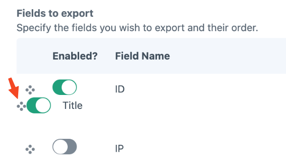
# Fields to export
Turn on the field whose data you want to have exported. Each field forms a column later on in the export file. The order of a column can be determined by grasping the field by the four dots and moving it to the place desired.
# Filters
It is possible to use a filter to search for specific data which should or should not be included in the dataset. The image shows an example where all submissions that have the name 'Janssen’ are included in the export. Choose a certain field to be applied and select a type under Filter Type. Under Value you will find a field where you can enter a specific text or number to be taken into account.
With Add an option you can enter multiple filter criteria.
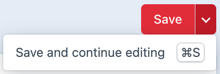
# Save
Choose Save or Save and continue editing at the top right of the screen to save the profile.
You can remove profiles by clicking on the cross at the end of each row.
# Export
After you have created and saved a profile, the data can be generated and exported using the settings in the profile. To do this, locate the appropriate profile from the list and choose the desired action (Excel, CSV, JSON, XML, Text).

# Create a notification profile
After an export profile is created, it is also possible to have its data automatically emailed to you at regular intervals by the system. Go to Forms>Export>Notifications to create a notification profile. Use the red button New Export Notification at the top right of the screen. A new page with various options will be displayed.

Before you can use notification profiles, an export profile must first be created.
# Name
Give the profile a name.
# Export Profile
Choose the export profile whose data you want to receive by mail.
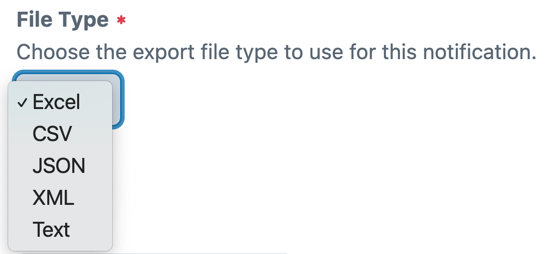
# File Type
Choose the desired file format for export.
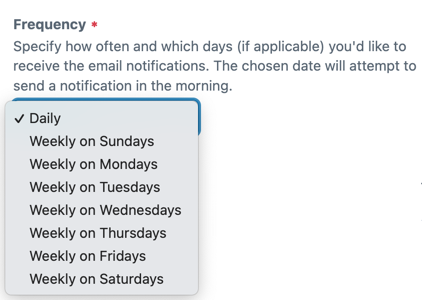
# Frequency
Specify how often you want to receive the export by mail. You have a choice of every day or a specific weekday.
# Emails to Notify
Enter the mail address to which the system should send the exported data.
In case of multiple recipients, place each mail address on its own row.
# Filename
The name of the sent file consists of data from replacement tags. These are pieces of code (in Twig format) with which you can indicate which data the system should place here. By default, the filename consists of the handle of the form and the export date.
# Email Subject
Enter a general subject for the email message.
# Email Message
Enter a general text for the mail message.
# Save
Choose Save or Save and continue editing at the top right of the screen to save the profile. After saving, you will be taken to the the overview with all the saved profiles.

You can remove profiles by clicking on the cross at the end of the row.